Beekeeping for Beginners: What to Do in Your First Spring
A colony that has come through winter is a quiet, compact thing. Then one mild afternoon in March the entrance starts to look busy, pollen comes in on the bees' legs, and the season has started without any announcement. Your first spring is less about doing clever things than about learning to read what the colony is telling you. Here is the order most beginners need: sensible timing, a careful first look, feeding only where it is needed, space when they ask for it, and swarm control before it turns into an emergency.
Get the Timing Right Before You Open Anything
Cold bees are slow bees, and a colony opened in a sharp wind spends the rest of the day putting the heat back. Pick a still, bright day with the temperature in the mid-teens or above. Late morning to mid-afternoon usually works best, because foragers are out and any bees you disturb will return to the hive rather than cluster on the outside of it.
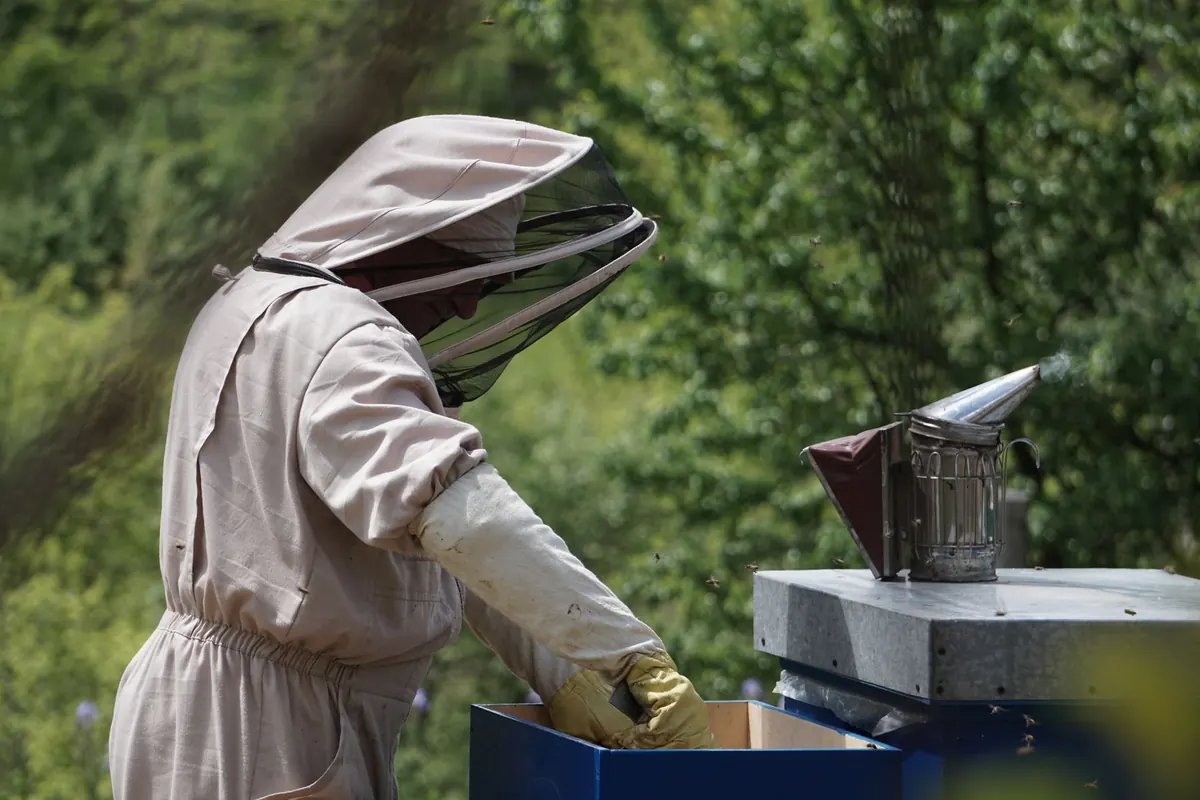
Have everything to hand before you lift the roof: hive tool, a smoker that is actually burning, clean gloves, a spare box or nucleus hive, and your notebook. Light the smoker properly and keep it going with cool white smoke rather than a blast of hot ash. Two or three puffs at the entrance, a gentle puff under the crown board, then wait a few seconds. Keep that first inspection short — ten to fifteen minutes is plenty.
The First Real Inspection: What You Are Looking For
Work through the frames in a logical order and resist the urge to pull everything apart at once. A simple checklist:
- Stores. Lift the back of the hive to judge its weight. If it feels light, or the outer frames are bare, they will need feeding.
- Brood in all stages. Eggs are tiny grains of rice standing upright in the base of the cells, larvae are the white curled grubs, sealed brood is the biscuit-coloured capping. Seeing eggs is the single most useful sign that you have a laying queen.
- The queen herself. You do not need to find her every time. Eggs and young larvae tell you she was there within the last few days.
- Room to expand. Is the brood nest touching the outer frames? If every frame is covered with bees and brood, add a super or a second brood box before they feel cramped.
- Health. Sealed brood should be solid and even, not patchy, with sunken or greasy cappings and gaps. A sour smell is a reason to close up carefully and ask for help.
- Temperament. A colony that boils over the frames and follows you down the garden is worth a note — sometimes it is the weather, sometimes it is a queen you will eventually want to replace.
Feeding: Only When They Actually Need It
Spring feeding is not automatic. Colonies that went into winter heavy with ivy or syrup often still have stores left, and overfeeding fills the brood nest with sugar and leaves the queen nowhere to lay.
- Fondant in cold spells — the bees can take it from directly above the cluster without breaking it to fly.
- Thin syrup, roughly equal weights of sugar and water, once they are flying regularly and raising brood.
- Stop before supers go on, or as soon as a good nectar flow starts. Sugar in honey frames is not what you want to harvest or give away.
- Never feed honey or syrup made from unknown honey, as it can carry disease.
A shallow tray of water with a few pebbles in it, kept topped up nearby, saves your bees a long trip and keeps them out of the neighbours' ponds.
Swarm Control Begins in April, Not in May
Once the colony is building and drones are about, weekly inspections become non-negotiable until midsummer. Swarming is the colony's normal way of reproducing, not evidence that you have done something wrong.
Look for queen cells: peanut-shaped cups, usually along the bottom bars, in the gaps between comb, and occasionally in the middle of a frame. If you find them, do not simply scrape them all off. Removing every cell can leave the colony queenless, and if the bees have already swarmed you have lost half of them anyway.
The standard beginner fix is an artificial swarm: separate the queen and the flying bees from the brood, so the older bees believe they have swarmed and settle into a fresh box, while the brood and queen cells stay behind. Learn one method properly rather than half of three, and read it up before the day you need it — swarm season rarely waits for a quiet evening.
Records Worth the Effort
You will not remember what you saw last month. Keep a notebook or a simple spreadsheet and note the date, weather, what you found and what you did: frames of brood, stores, queen cells, temperament, any feeding or treatment. It takes two minutes and pays you back twice — once when you want to know whether a colony is building or standing still, and again if disease ever appears, because you will be able to say exactly when you last saw it healthy.
Keep a note of varroa monitoring and treatments too. If you suspect a notifiable brood disease such as American or European foulbrood, do not guess and do not move equipment between apiaries. Close the hive, leave everything in place, and contact your local association's bee inspector or the relevant plant and bee health authority for advice before handling anything else. Where disease or medication is involved, professional guidance beats well-meant opinion every time.
A Calm First Spring
Nobody gets this right in year one. A colony dies out, a swarm leaves over the hedge, a frame gets dropped. What matters is the routine: check the weather before the bees, inspect to a schedule once swarm season starts, feed on evidence rather than habit, write it down, and leave them alone in between.
If you can, join your local beekeeping association and find someone willing to stand at your shoulder for a season; ten minutes of borrowed experience saves a great deal of worry. Many beekeepers also register their apiary with the National Bee Unit's BeeBase, which sends local alerts about pests and disease. Between that and a notebook, your first spring will go better than you expect.
Photo: Dmytro Glazunov / Pexels